This is the fix for the NoNo head movement on the Home Depot R2-D2 animatronic.
The cause of the NoNo shake appears to be due to the stock servo having too much play causing head movement momentum to bounce against the backlash causing the servo to overcompensate.
Replacement Parts
These are recommended parts, but equivalents should work.
Procedure
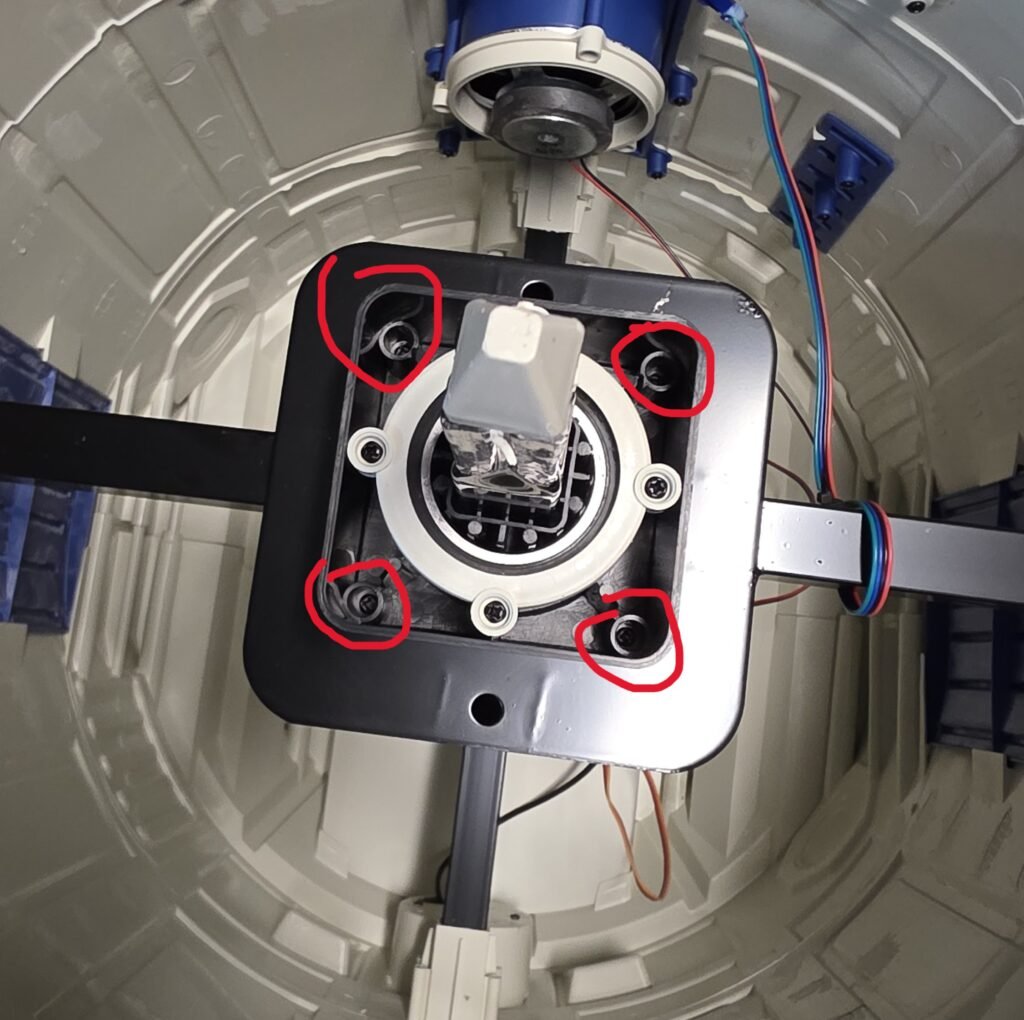
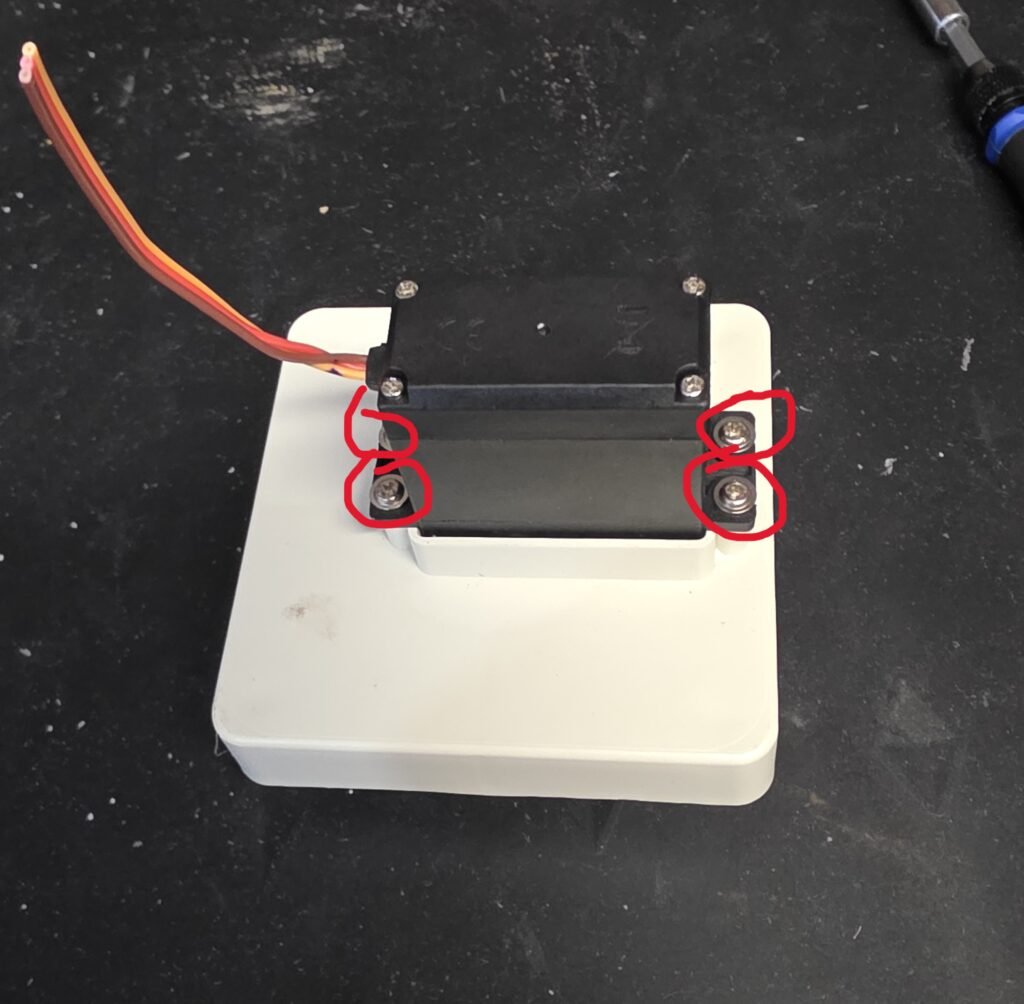
First, remove the old servo by removing the four screws…
Next, cut the servo wire, we will be attaching a connector to allow easy connectivity of the replacement servo.
Now, cut the extension wire to give us a female end to plug the servo into.
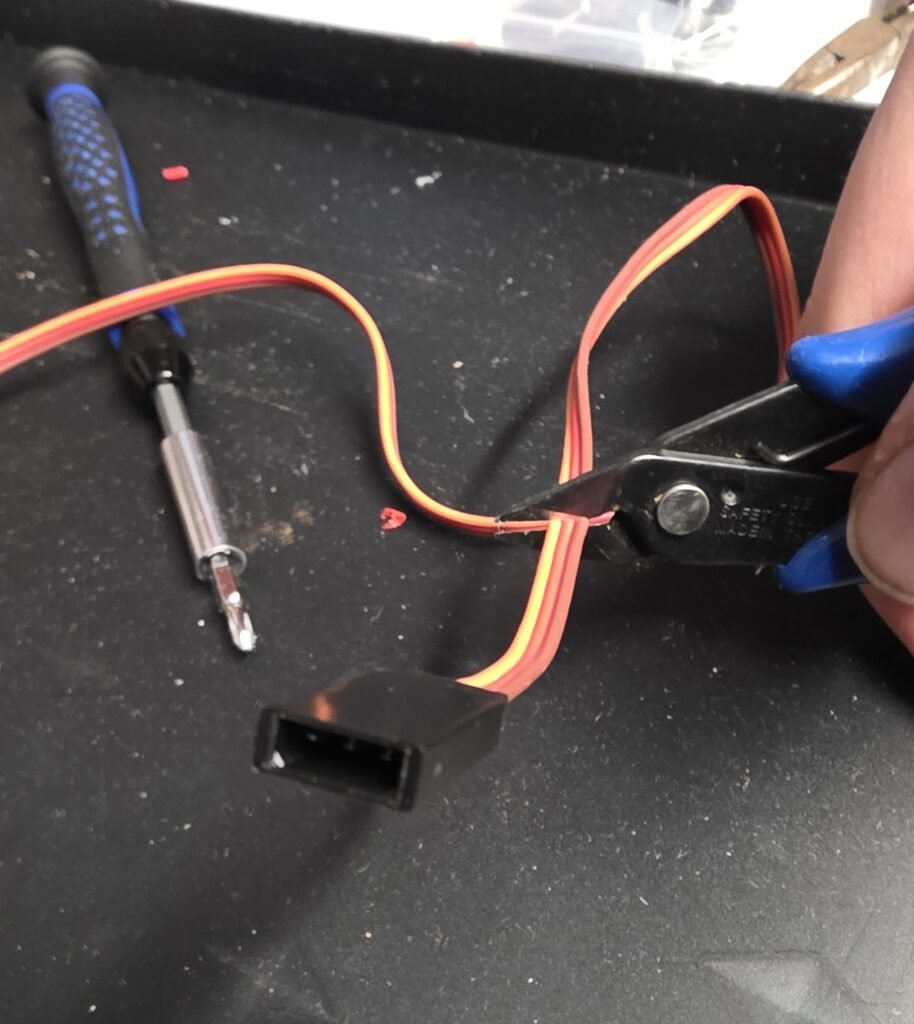
Separate the wires so that we can install the connectors easily.
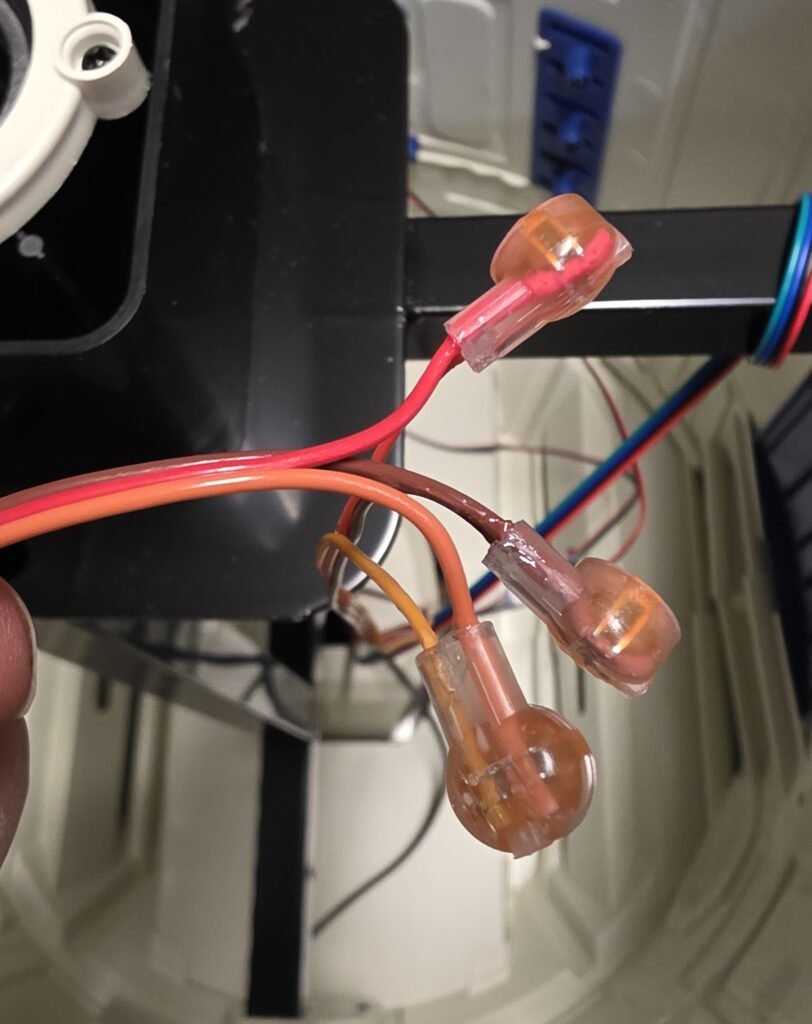
Start connecting the wires, the colors do not matter, just make sure that the middle wires connect to each other and that the wires are seated entirely into the splice connector…

Use pliers to punch the connector down securing the wires, repeat with the outer wires…

Next, remove the middle screw holding the server horn onto the servo and pull off the horn.
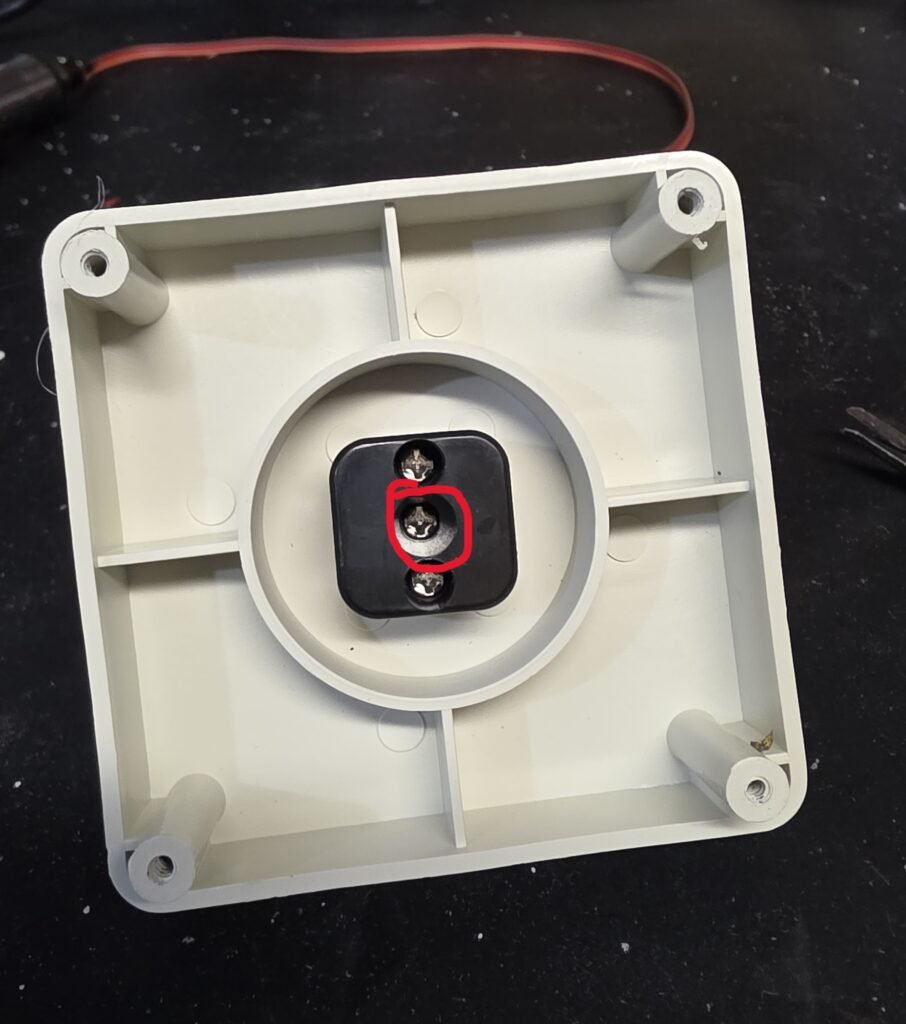
Next, remove the four screws holding the old servo in place…
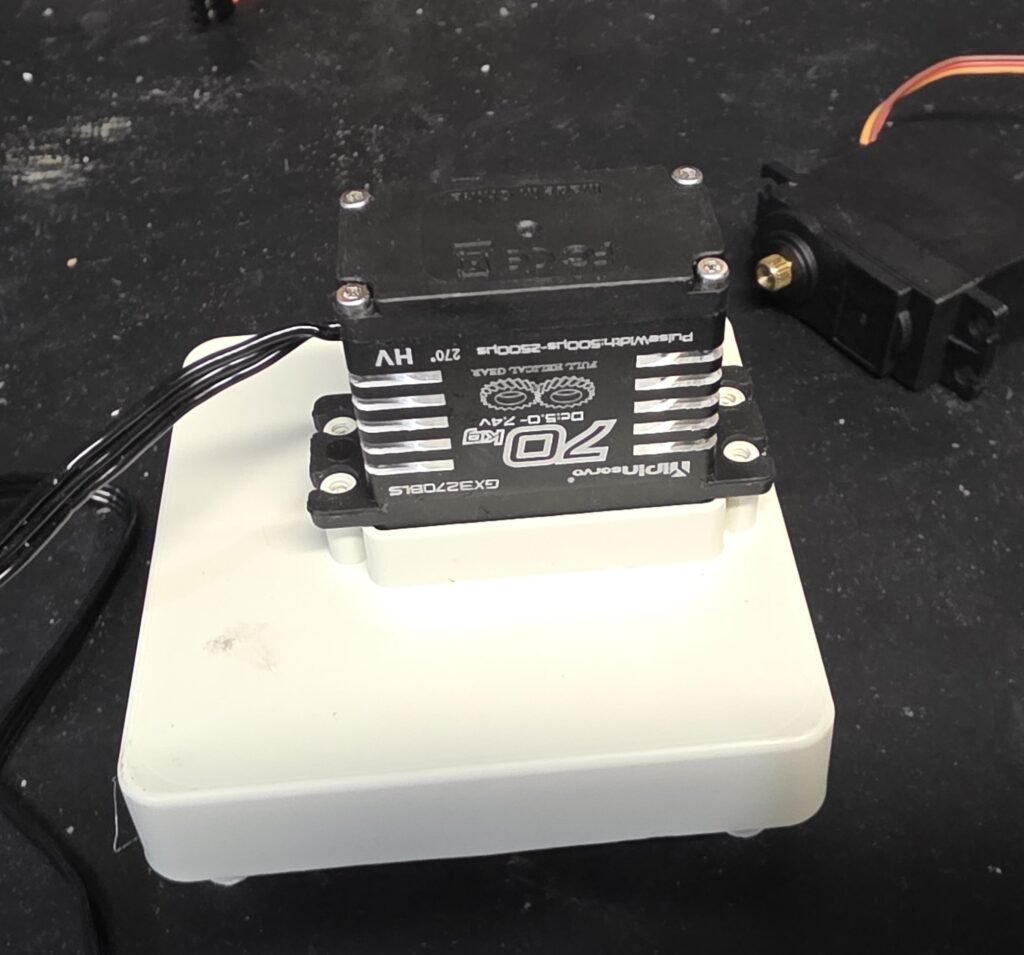
Install the new servo making sure its seated all the way…
Now, loosely using the horn (Do not screw it on), gently rotate the servo about 1/4 turn, we will use this to ensure the servo is centered next.

Now, plug the servo into the connector we installed earlier…

At this point, we will want to plug R2’s power adapter into the base. You should hear a quick spin of the servo to its point of center. If you do not hear this, unplug the power adapter, flip the connector over in the socket, and try again. Unplug the power connector.
Now you will place the horn onto the servo as square with the base as possible aligning with the teeth of the servo. It may be slightly turned one way or the other, this is ok and which way its turned is personal preference…
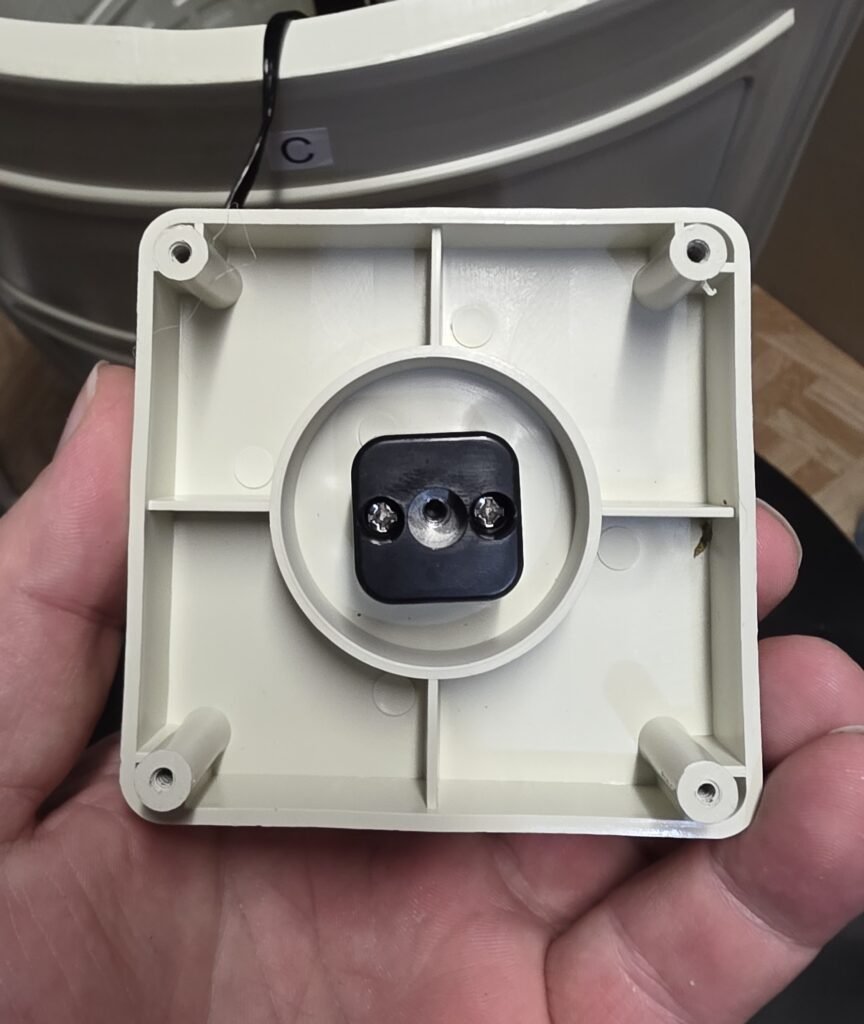
Install the center screw, and do not over-tighten, it only needs to seat about halfway.
Place the servo tray back into place and tighten the screws.
TIP: Before placing the spindle on the servo, rotate the spindle 180deg so that the hole is facing the back of R2. This will allow you to tighten the dome wing nut securely on the spindle instead of it flopping lose in the hole.
That’s it!
Now, dress up R2’s feet with some copper sleeves and shiny plates/connectors…